Making Soap Guide
Making your own soap can be a fun and rewarding experience. Whether you are interested in creating unique gifts for friends and family or simply enjoy the process of crafting, making soap is a versatile and enjoyable hobby. In this Making Soap Guide, we will explore the steps involved in creating your own handmade soap, the different techniques you can use, and the various ingredients and supplies you will need to get started.
First and foremost, it is important to gather all the necessary supplies before you begin making soap. Some essential items you will need include a digital scale, a thermometer, a stick blender, molds, and safety equipment such as gloves and goggles. You will also need to choose the oils and fats you wish to use in your soap recipe. Popular choices include coconut oil, olive oil, and shea butter, but the possibilities are endless.
Once you have gathered your supplies, the next step in the soap-making process is to choose a method. The two most common methods used to make soap are the cold process and the hot process. The cold process involves mixing oils and lye together at room temperature, while the hot process involves heating the ingredients together. Each method has its own unique benefits and challenges, so it is important to choose the one that best suits your preferences and experience level.
After selecting a method, it is time to create your soap recipe. This is where you can get creative and experiment with different combinations of oils, scents, and colors. There are countless recipes available online, or you can create your own custom blend. Just be sure to run your recipe through a soap calculator to ensure the proper balance of oils and lye for a safe and effective soap.
Once you have your recipe ready, it is time to start making soap. Begin by carefully measuring out your oils and lye, following the recipe instructions precisely. Always remember to wear safety gear and work in a well-ventilated area when handling lye, as it can be caustic and harmful if not used properly. Mix the oils and lye together, blending until the mixture reaches trace, which is the point at which the soap begins to thicken.
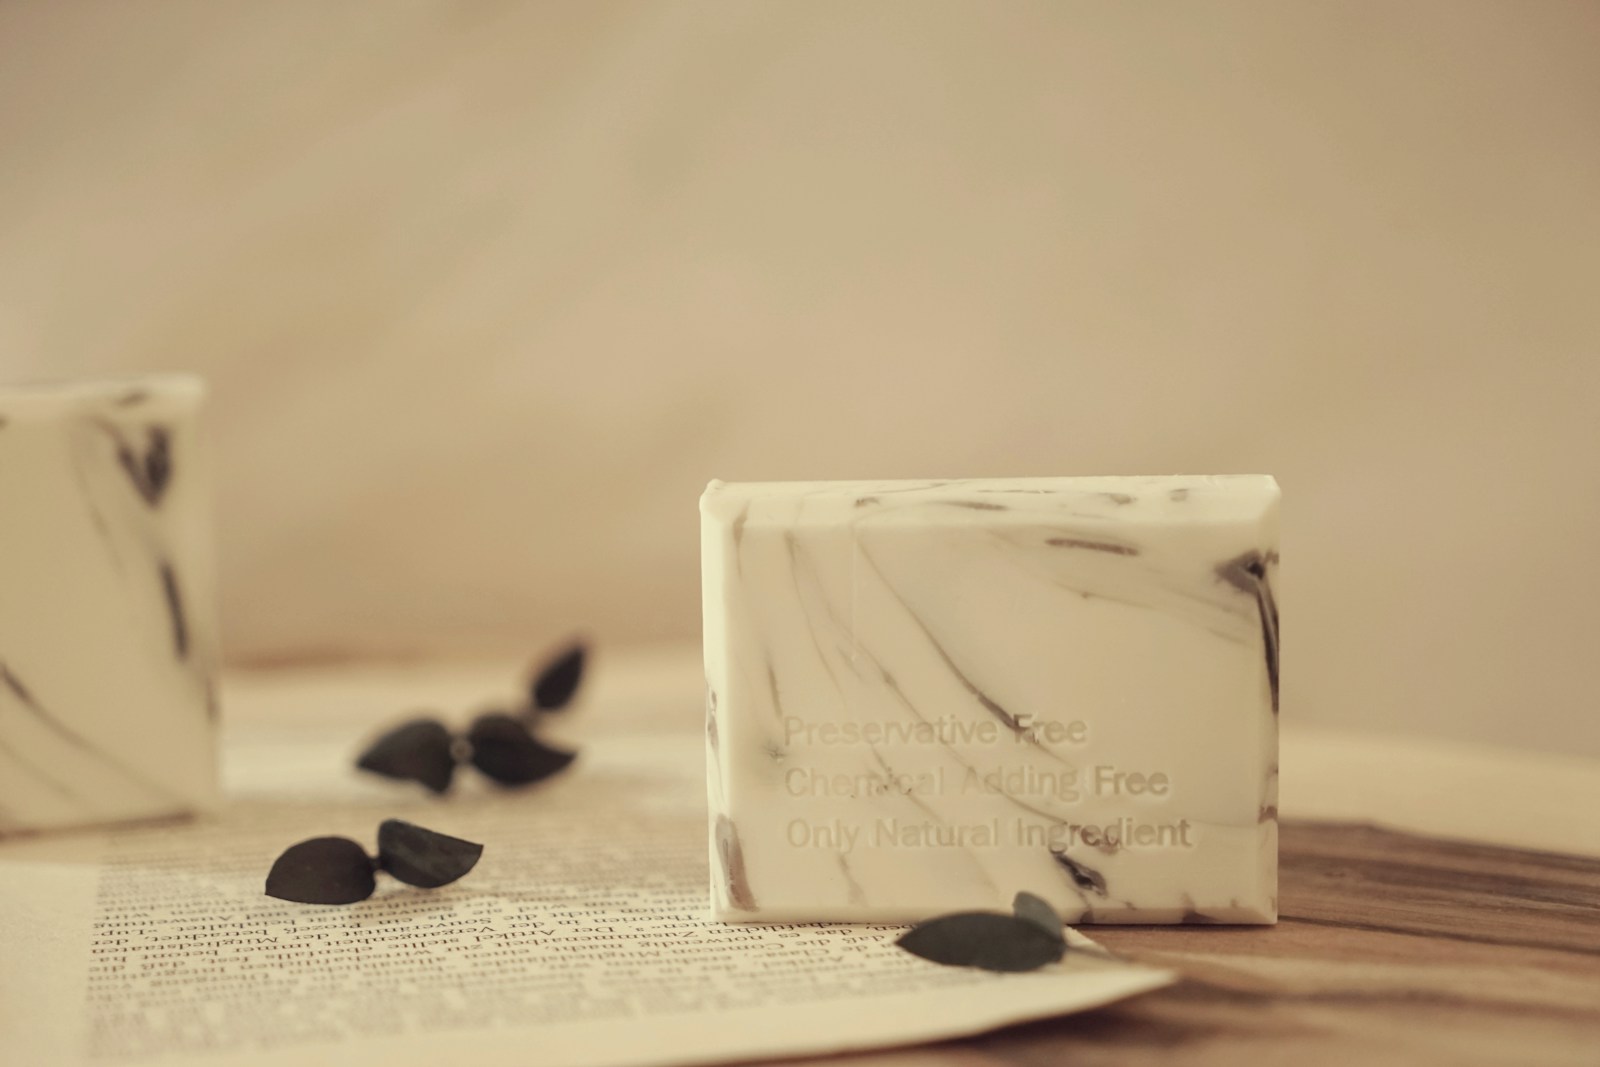
Once the soap has reached trace, you can add any scents, colors, or additives you desire. Popular options include essential oils for fragrance, natural colorants such as clays or herbs, and exfoliants like oatmeal or coffee grounds. Pour the soap mixture into molds and allow it to cure for several weeks before using. During this time, the soap will harden and the saponification process will be completed, resulting in a high-quality bar of soap.
In conclusion, making soap is a fun and creative process that allows you to customize your own skincare products. By following this Making Soap Guide, you can learn the basics of soap making, experiment with different techniques and ingredients, and create unique and personalized soaps for yourself or as gifts for others. So why not give it a try and start making your own soap today? The possibilities are endless, and the results are sure to impress!
Services: Making soap, Soap making guide, Handmade soap, Soap supplies, Soap recipes, Soap making techniques