Making your own soap can be a fun and rewarding hobby. Not only do you get to customize the ingredients and scents, but you also have the satisfaction of using a product that you made yourself. If you’re interested in trying your hand at soap making, here are some easy steps to get you started.
The first step in making soap is gathering all the necessary ingredients and equipment. You will need a heat-resistant container for mixing the ingredients, a thermometer, a scale for measuring the ingredients, a stick blender, molds for shaping the soap, and of course, the ingredients themselves. Some common ingredients for making soap include lye, water, and oils such as coconut oil, olive oil, and shea butter. You can also add scents and colors to customize your soap.
Once you have all your ingredients and equipment ready, the next step is to mix the lye with water. This step is crucial, as lye is a caustic substance that can be dangerous if not handled properly. Make sure to wear protective gear such as gloves and goggles, and mix the lye with water in a well-ventilated area. Once the lye has dissolved in the water, set it aside to cool.
While the lye solution is cooling, you can prepare the oils. Measure out the oils using a scale, and heat them gently until they are melted. Once the oils are melted, you can combine them in a heat-resistant container. Make sure the oils and lye solution are at a similar temperature before mixing them together.
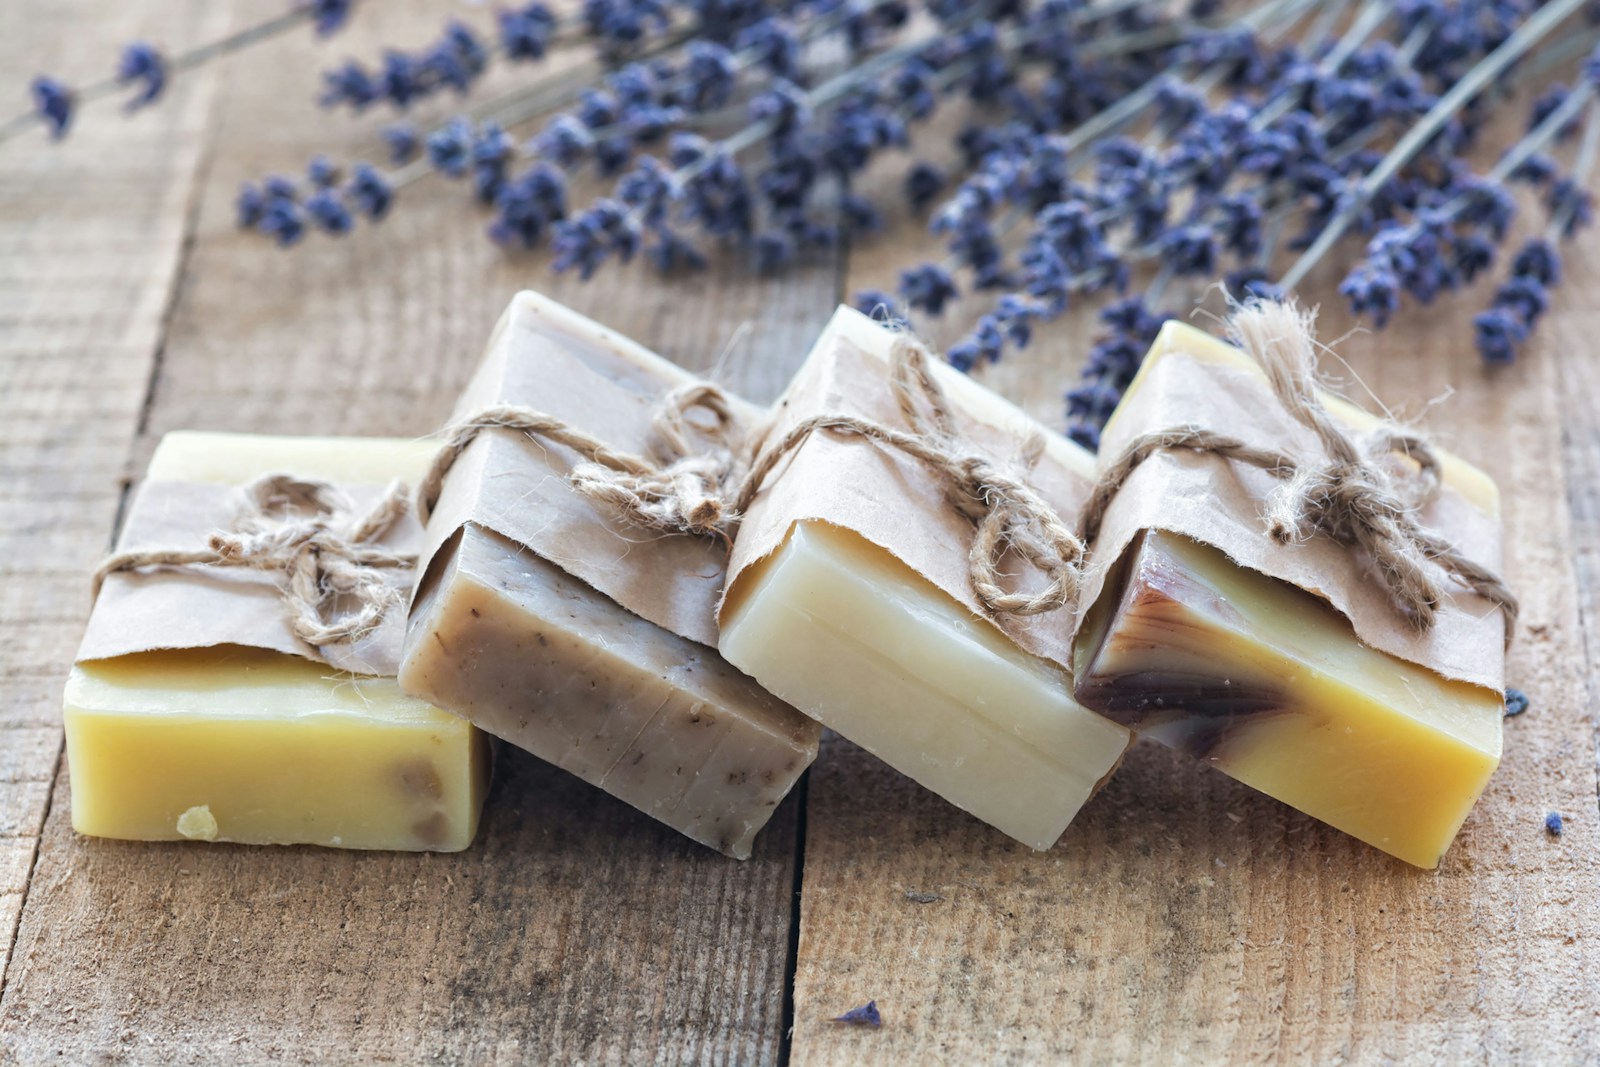
Using a stick blender, mix the oils and lye solution together until they reach trace, which is a point where the mixture thickens and leaves a trail when dripped back into the container. At this point, you can add any scents or colors to customize your soap. Popular scents for soap include lavender, peppermint, and citrus, but feel free to experiment with different combinations.
Once you have added your scents and colors, pour the soap mixture into molds to shape it. You can use silicone molds, loaf molds, or even household items such as milk cartons or shoeboxes. Make sure to tap the molds on the counter to remove any air bubbles, and then cover the molds with a towel or plastic wrap to insulate them.
After 24-48 hours, the soap should be ready to unmold. Carefully remove the soap from the molds and cut it into bars if necessary. The soap will need to cure for 4-6 weeks before it is ready to use, as this allows the excess water to evaporate and the soap to harden.
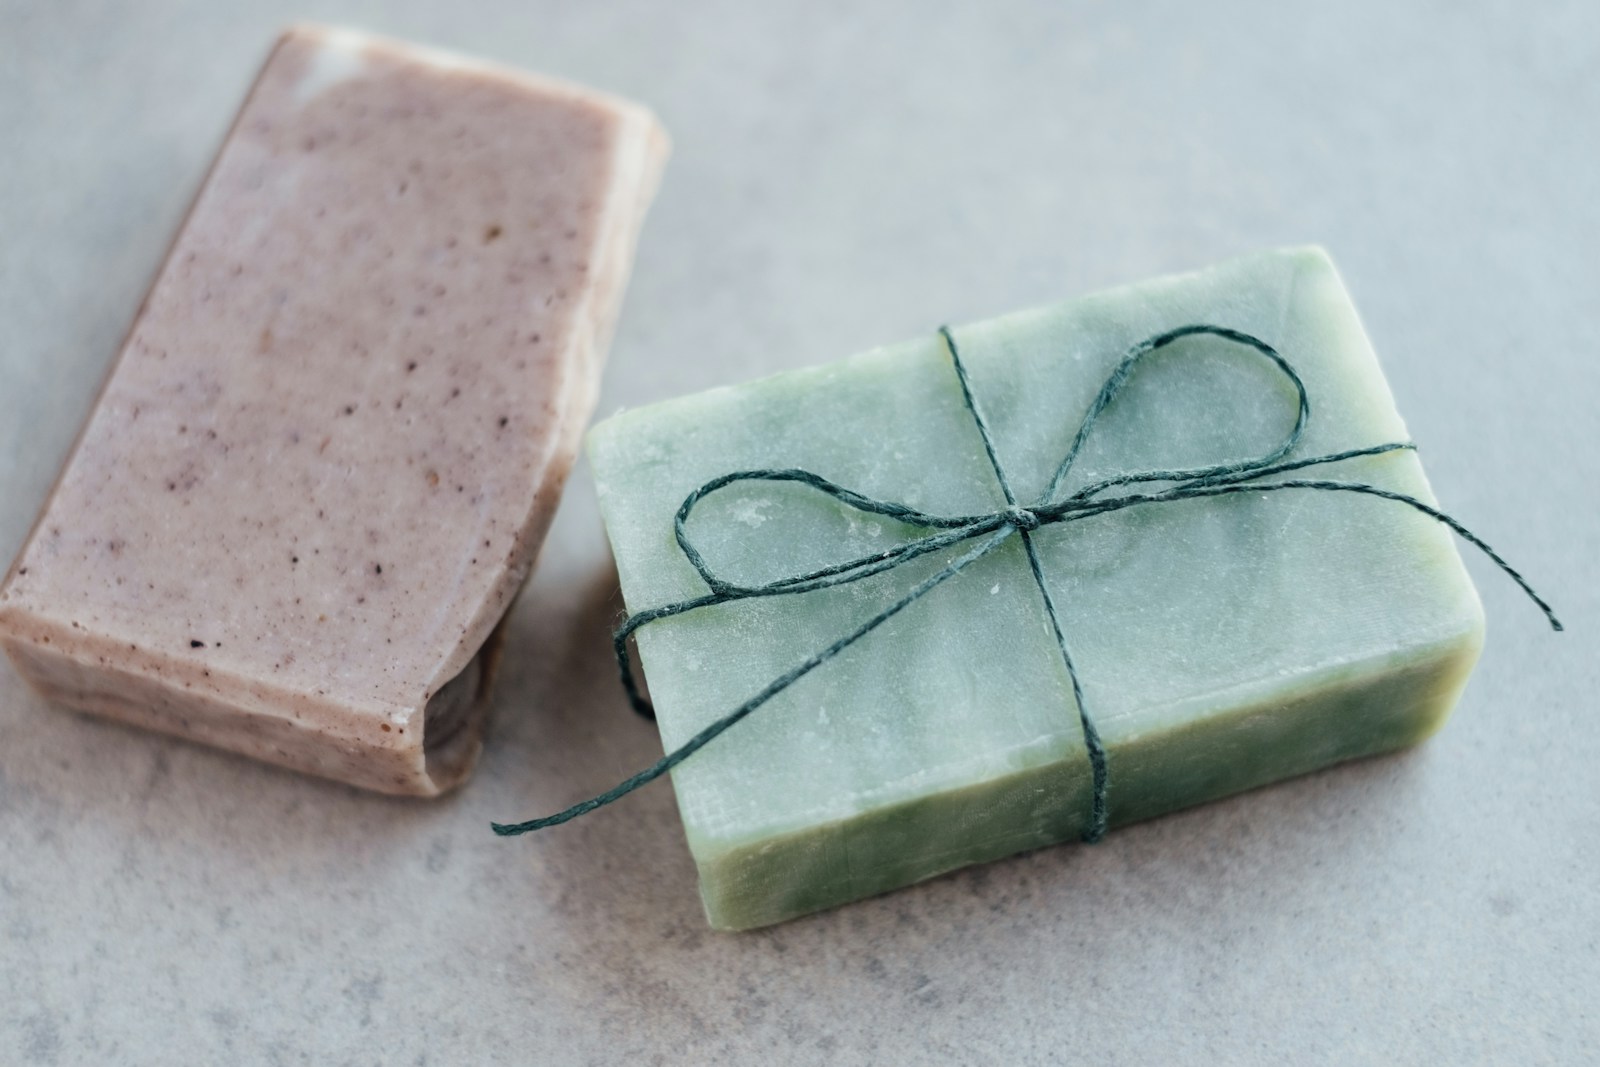
Making your own soap can be a fun and creative process. By following these easy steps and experimenting with different scents and colors, you can create unique and personalized soaps that are perfect for yourself or as gifts for friends and family. So why not give soap making a try and see where your creativity takes you?